PicSee provides the "HTML file upload" method for verification. You can watch the video tutorial below or follow the text instructions:
Setup Steps:
You need to check whether your Facebook account can do domain verification. For more details about the requirement, please refer to Facebook's official instructions.You will need to perform steps on both PicSee and Facebook websites to complete the setup.
The steps performed on PicSee:
1. Click the account on the top right corner, and go to "Settings".2. Switch to the "Domains" tab.
3. Click "Add" in the "Subdomains" section.
4. Find the domain that needs to be verified in the "BSD" or "Subdomains" section, and click it.
5. Click "Start setting" in the "Facebook Domain Verification" section.
6. Copy the domain content from STEP 3
The steps performed on Facebook:
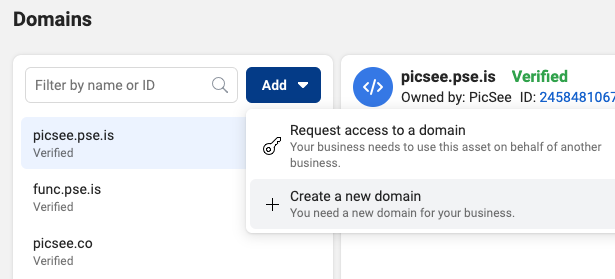
1. Go to Domains in the Brand Safety section of Business settings in Business Manager2. Click "Create a new domain", and paste the domain you copied on PicSee
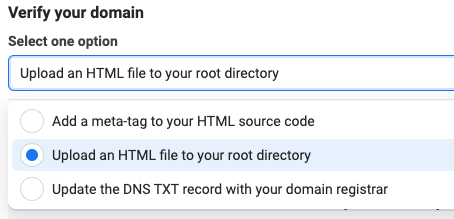
3. Select "Upload an HTML file to your root directory" from the dropdown menu.
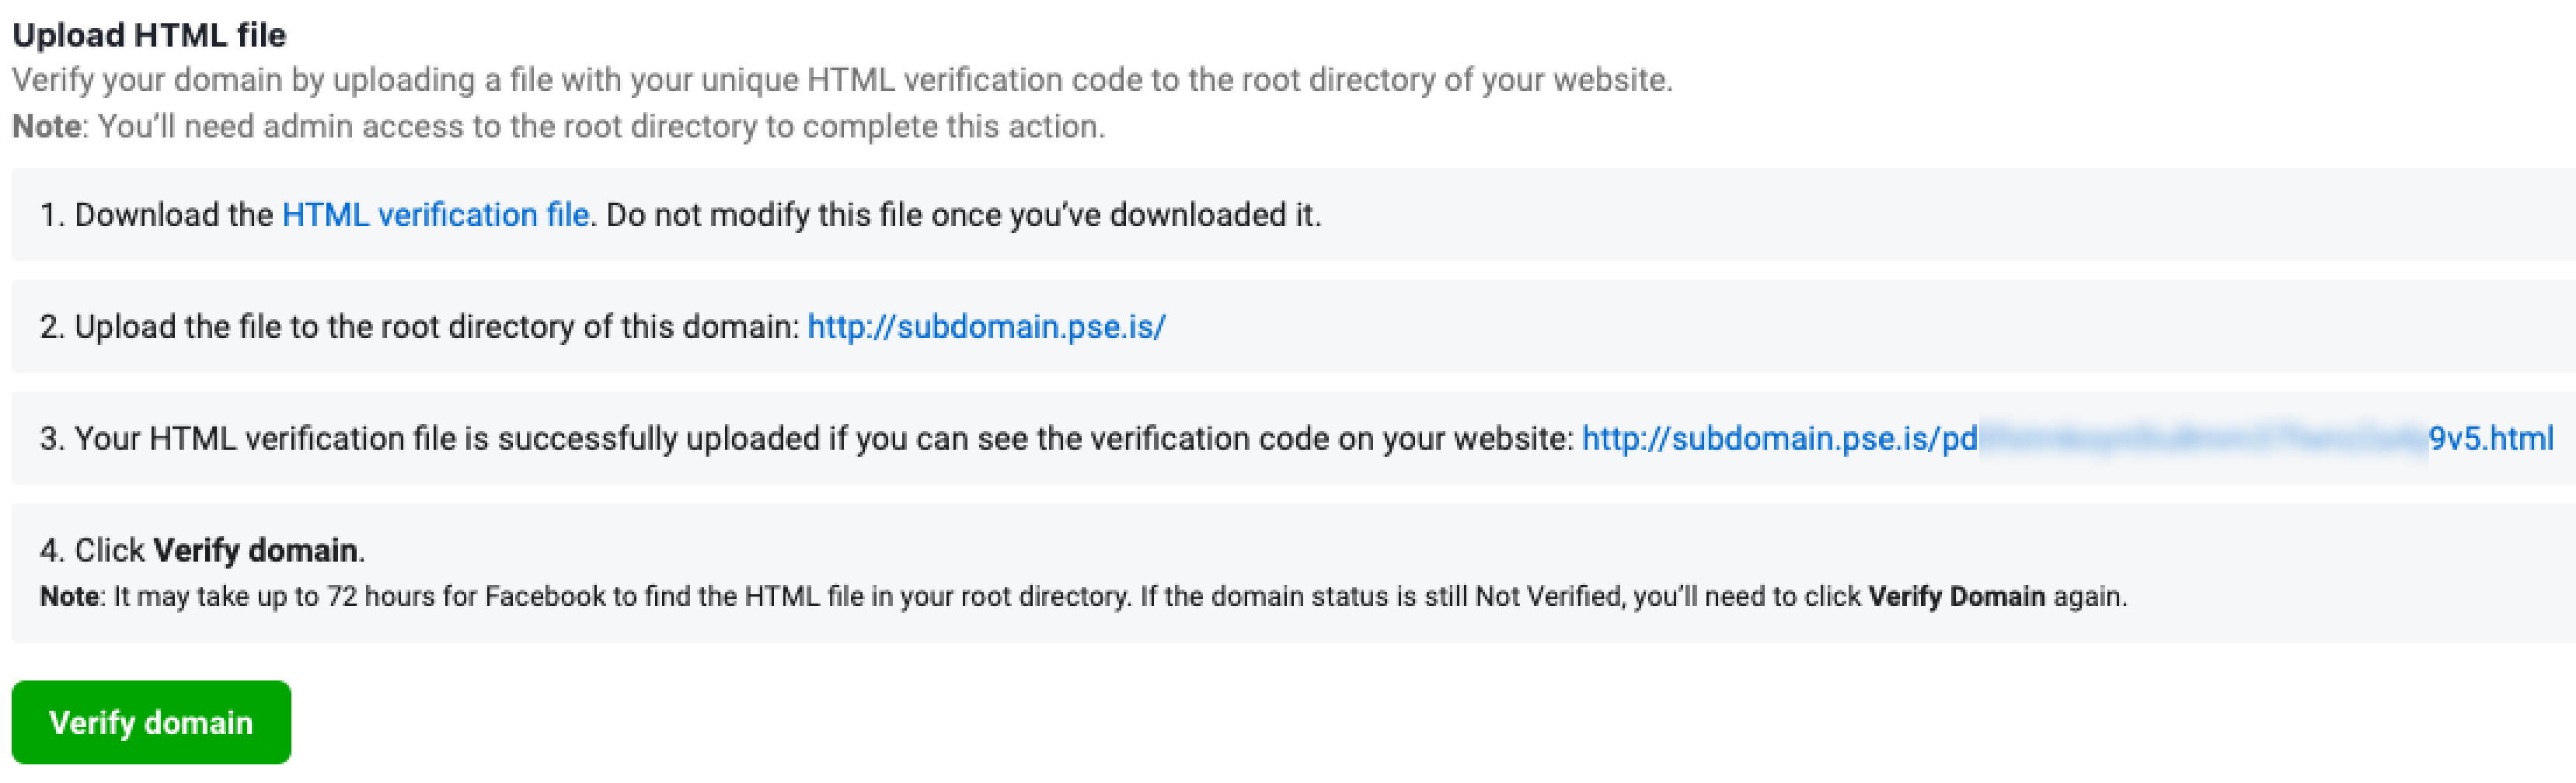
4. Copy the entire URL from STEP 3.
Back to PicSee:
1. Paste the URL you copied from Facebook into the text field in STEP 4. PicSee will automatically generate the Facebook verification file and upload it to your domain's root directory.2. Click "Confirm". You have now completed the operations on PicSee.
Back to Facebook:
1. Click the "Verify Domain" button. Facebook will check the HTML file on PicSee. If you performed the previous steps correctly, the verification should proceed smoothly.2. When Facebook displays the verification complete dialog, your domain verification is complete!irectory” on the drop-down menu.
4. Copy the whole link from STEP 3.
These steps require you to return to PicSee to perform:
1. Paste the link you copied on Facebook to the text box of STEP 4. Then, PicSee will generate the Facebook-verified file, and upload it to your domain’s root directory.
2. Click “Save”, and you have completed the operation on PicSee.
These steps require you to return to Facebook to perform:
1. Click the “Verify domain” button, and Facebook will confirm the HTML file. If you performed the previous step correctly, you can smoothly proceed with the verification.
2. When Facebook pops up the verification completion message, it means the domain verification is completed!